Macrophotography: getting close to small subjects
Reading time approx. 1 minute
Helpful?
Macrophotography: getting close to small subjects
Reading time approx. 1 minute
Helpful?
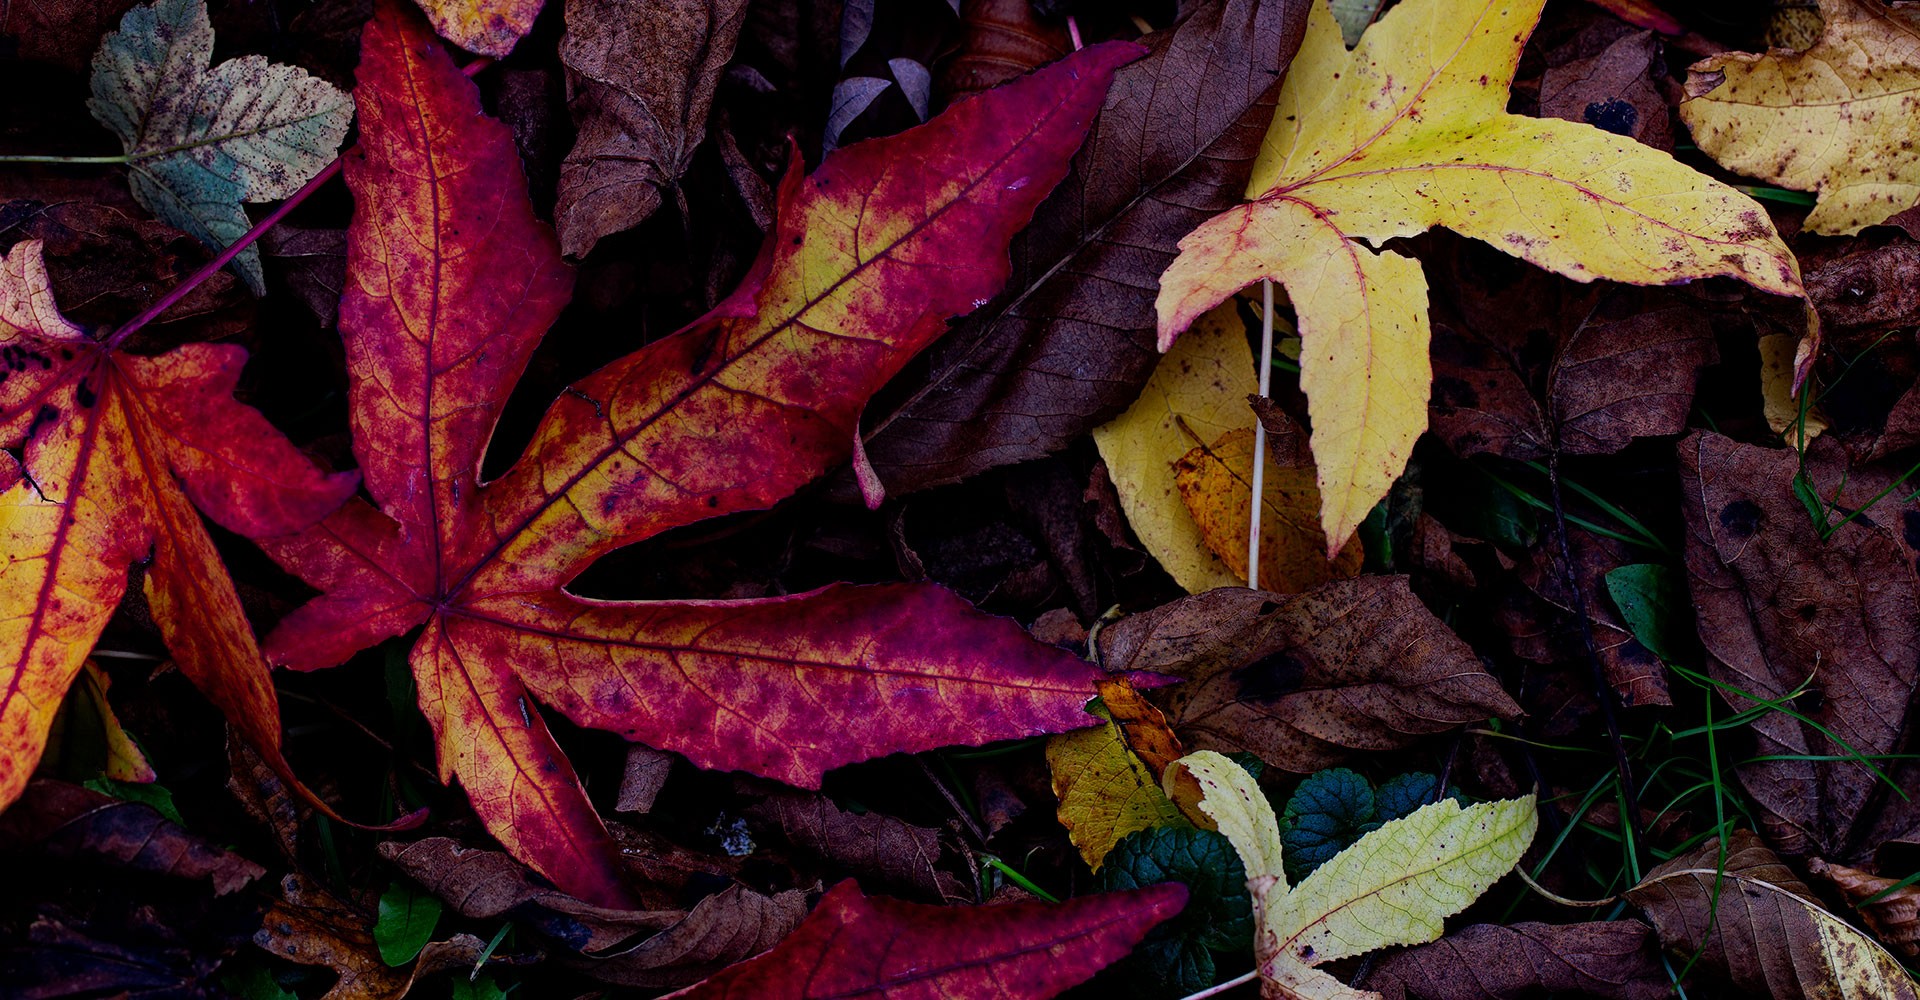
Getting up close to very small subjects - that's the greatest thing for many people. However, there are a few things to consider when taking macro photos in order to expose flowers, watches, toys, etc. correctly and sharply.
By the way, true macro photography is generally considered to be at a scale of 1:1 or larger, and special rules apply from there: Due to the laws of physics and optics, the depth of field decreases disproportionately at reproduction scales of 1:1 and larger. This means that a very small object, such as a flower or insect, will have very little sharpness around the focus point. This means that everything a millimetre or less in front of and behind the focal point can quickly appear blurred. Even stopping down a lot will only help marginally. And you shouldn't stop down too much either, or you'll enter the realm of diffraction, a physical wave phenomenon. Diffraction is noticeable as a distinct blurring across the entire image.
Autofocus also reaches its limits in extreme close-ups. For example, when there are few structures in the subject that the autofocus needs to work. With the latest mirrorless EOS cameras, it is possible to position the autofocus point over almost the entire image field - this helps. When focusing manually, there are also various focus aids. Firstly, there is the focusing aid, which can be activated in the autofocus menu. Three index marks on the selected autofocus point, aligned with the focus ring, make precise focusing very easy. Focus Peaking is even easier. This can also be found in the same menu under MF Peaking. Focus Peaking displays a coloured, illuminated border around the structures in focus. This not only lets you see exactly what is in focus, but also gives you an idea of the depth of field. This is particularly useful for macro photography.

Exposure time, camera shake, tripod and image stabilisation
Macro photography is not just about taking a large-format picture of a small object; it is also about monitoring the movement of both the subject and the camera. Even the slightest wobble in the camera can ruin the shot. As a result, you will usually need to use a tripod or set a much shorter exposure time than usual. If you are shooting handheld, which is extremely difficult with small objects and very short distances between them, image stabilisation in the camera or lens, or a combination of both, can allow a slightly longer exposure. However, subject movement remains.
Another physical effect influences the exposure and therefore the aperture and shutter speed. As you move the camera and lens closer and closer to an object, it will appear larger and larger, and will be captured with less and less light. The camera's automatic exposure system will of course compensate for this, but the exposure time parameter in particular will change less favourably at a constant aperture than when shooting at a distance.
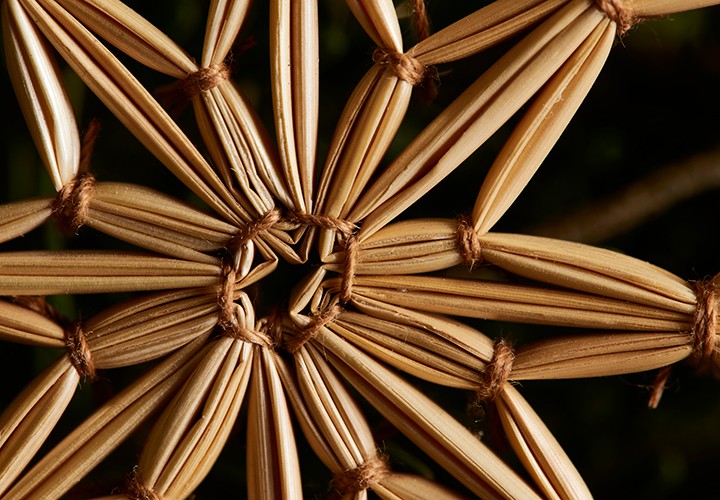
Focus Bracketing
The shortcoming of shallow depth of field in macro photography can be overcome with a shooting technique called focus bracketing. As the name suggests, a series of moving-focus shots are stacked to create a single shot that is sharp from front to back. Most of the Canon EOS R cameras can even do this automatically, and the latest ones calculate the final result directly in the camera. Otherwise, the series of shots must be assembled using Canon's DPP software.
Macro illumination
Another way to compensate for the lack of light at large image scales without overloading the exposure time is to add external light sources. Canon offers two dedicated macro flashes that place their light sources directly on the lens, exactly where light is needed when the lens is very close to the subject. There are also accessories such as small LED lights that can be placed very close to the subject. LED flashlights are just as handy. But here's a tip: with this type of lighting, you should shoot in RAW format. LED lights that are so small and not specifically designed for photography do not have a defined light colour. The white balance should therefore be carefully adjusted in post-production.
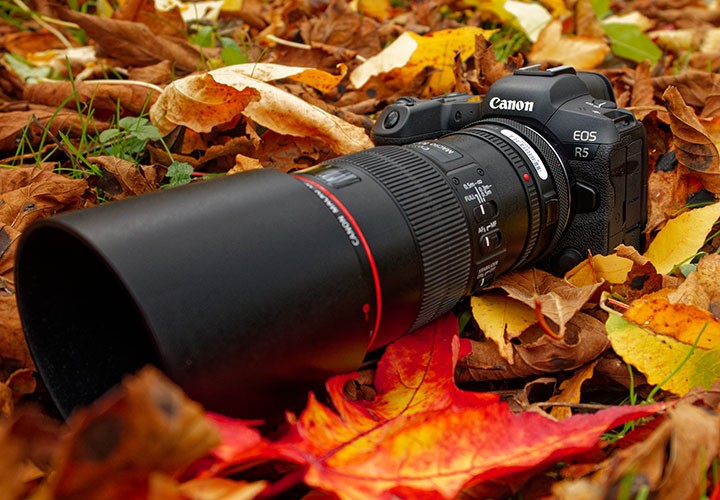
Lenses
To achieve the large image scales described above, the camera and lens must be very close to the subject. The closest focusing distance of the lens should be correspondingly short. Special macro lenses are available, such as the RF 100mm F2.8 L Macro IS USM with a maximum magnification of 1.4mm. Special macro lenses are available, such as the RF 100mm F2.8L Macro IS USM with a maximum magnification of 1.4:1, or the EF 100mm 1:2.8L Macro IS USM with a maximum magnification of 1:1. Cheaper alternatives are either macro lenses that attach like a filter in front of a non-macro lens, reducing image quality, or extension tubes that attach between the lens and camera, reducing the close-up limit of a normal lens.