How to take spectacular close-ups with the EOS
Reading time approx. 2 minutes
Helpful?
How to take spectacular close-ups with the EOS
Reading time approx. 2 minutes
Helpful?
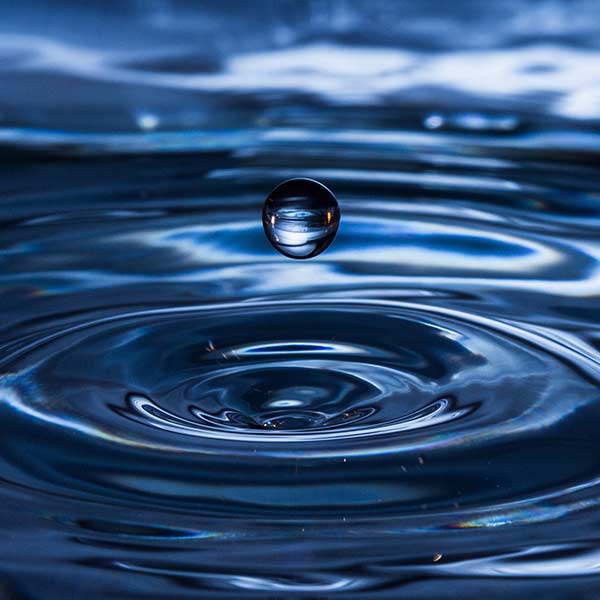
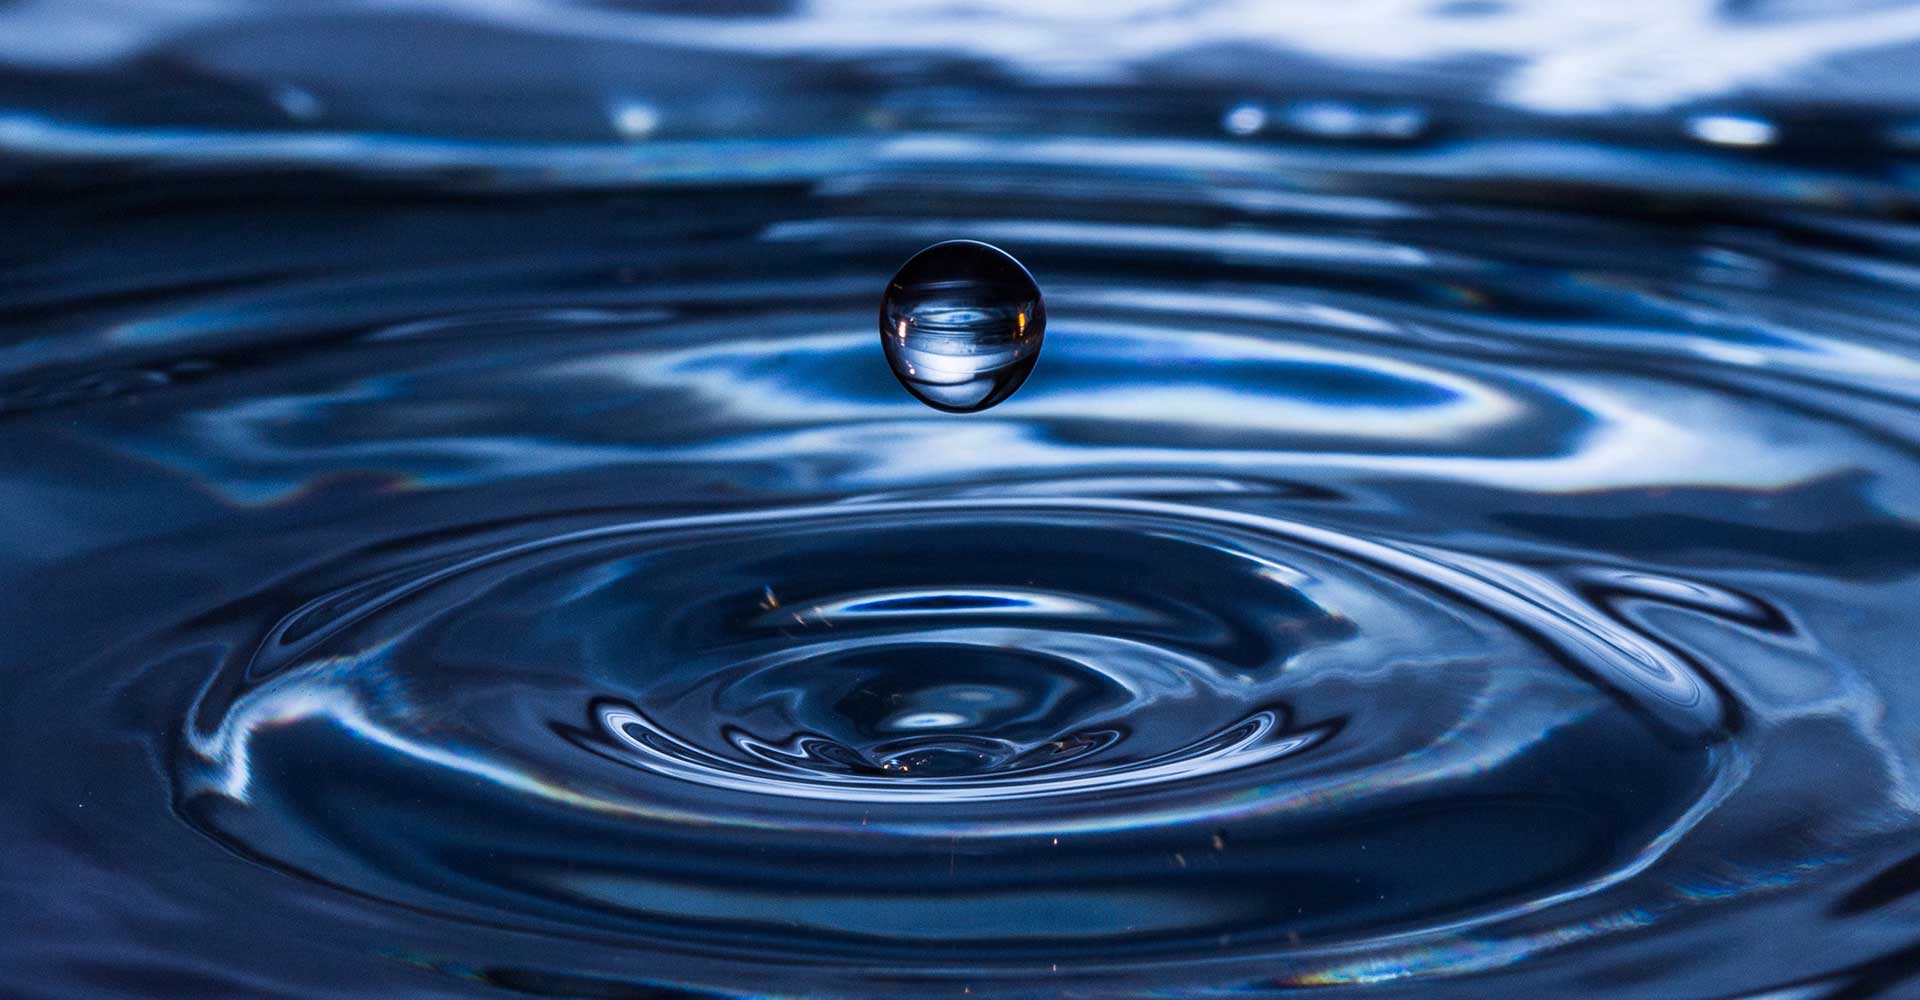
Photos of falling water droplets look impressive, and it's not that difficult to take one. Petra Selbertinger explains how.
Creating drops
There are adjustable drippers, infusion bags from the chemist or, like me for this picture, you can just go to the kitchen sink. You can either fill the sink or place a (glass) bowl on a baking tray over the sink.
Camera position
It's best to put your camera on a tripod and position it so that you get an interesting angle of the place where the drops hit the water - so that you can also see the water around the "point of impact", for example.
Manual focusing
Focusing on a drop or low-contrast water surface is tedious and unnecessary. Use a pencil, hold the tip in the water where the drops hit and focus on that. Then switch from AF (autofocus) to MF (manual focus) on the lens. Now the spot where the drops hit will remain in focus. Depending on how you set the aperture, the area in focus will be more or less wide.
Exposure Time
Exposure time can be used to 'shape' frozen drops or water sculptures. It's best to experiment with different settings. If you are not very familiar with your camera, it is best to select the 'Tv' exposure mode. If you now turn the rear control dial, you only adjust the exposure time. The camera will automatically adjust the aperture. The continuous shooting function increases your chances of capturing the best drop position.
Colour
If you want to make the water blue, set the white balance to tungsten. For an even more spectacular effect, place one or more "unleashed" flashes next to the glass bowl and colour the water with coloured film in front of the flash reflector.